 aperture f/8, shutter speed 1/500, ISO 400 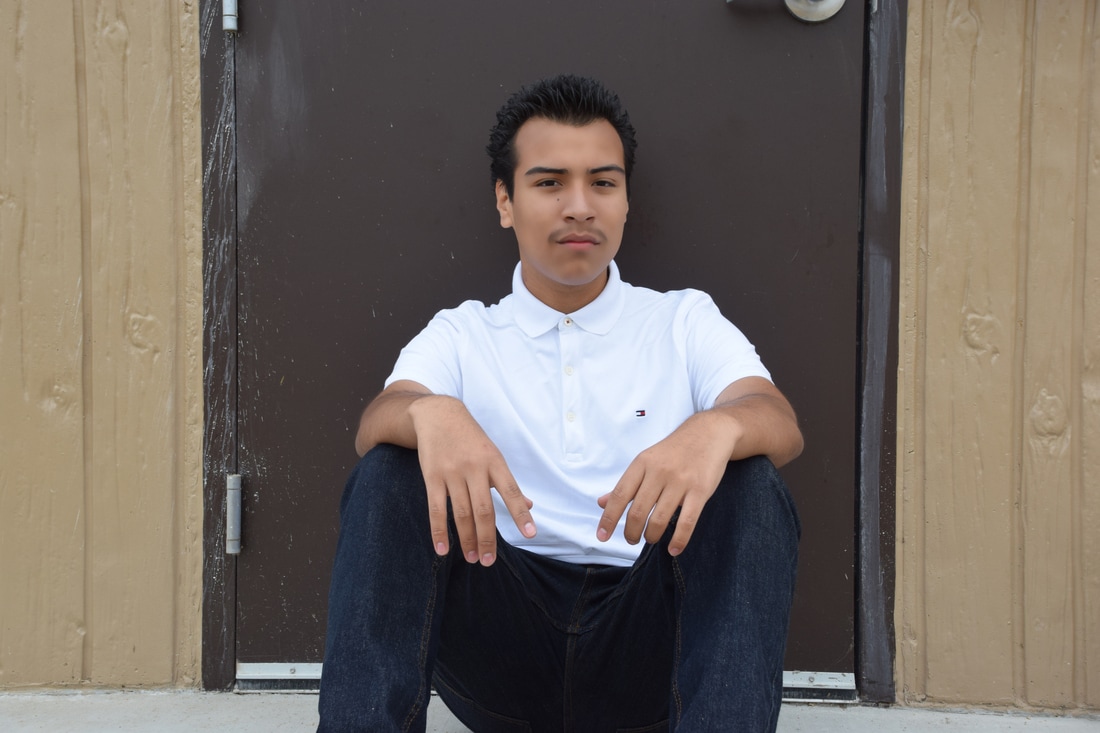 aperture f/8, shutter speed 1/180, ISO 400 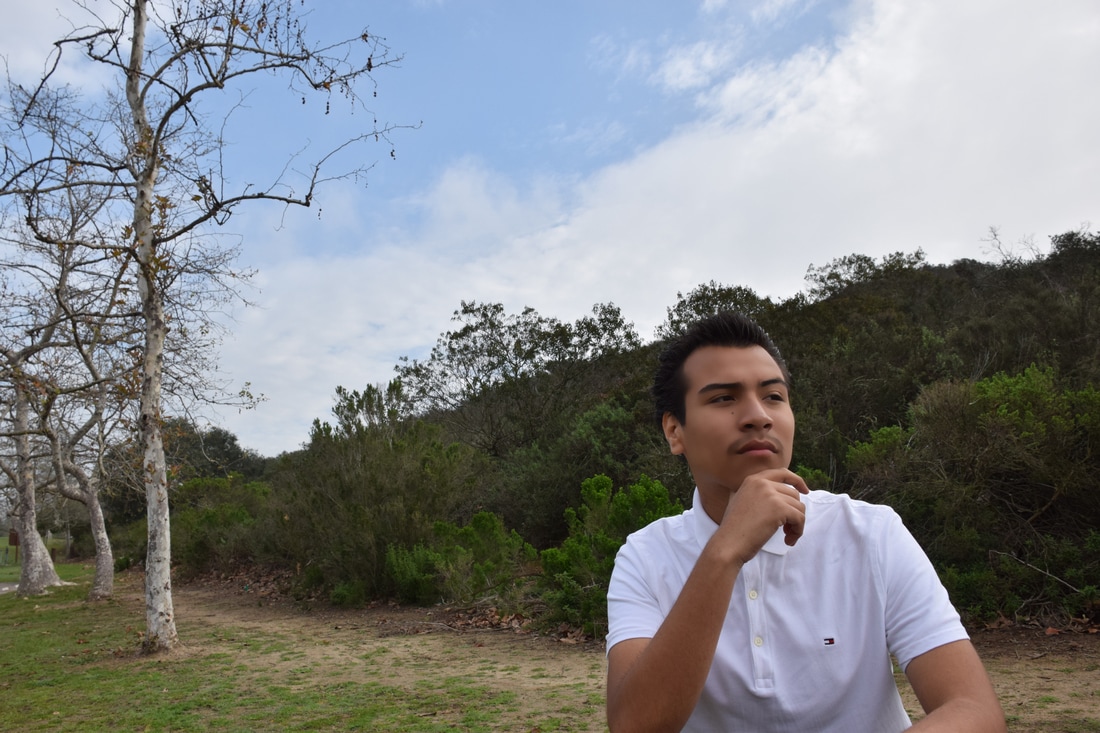 aperture f/8, shutter speed 1/1000, ISO 400 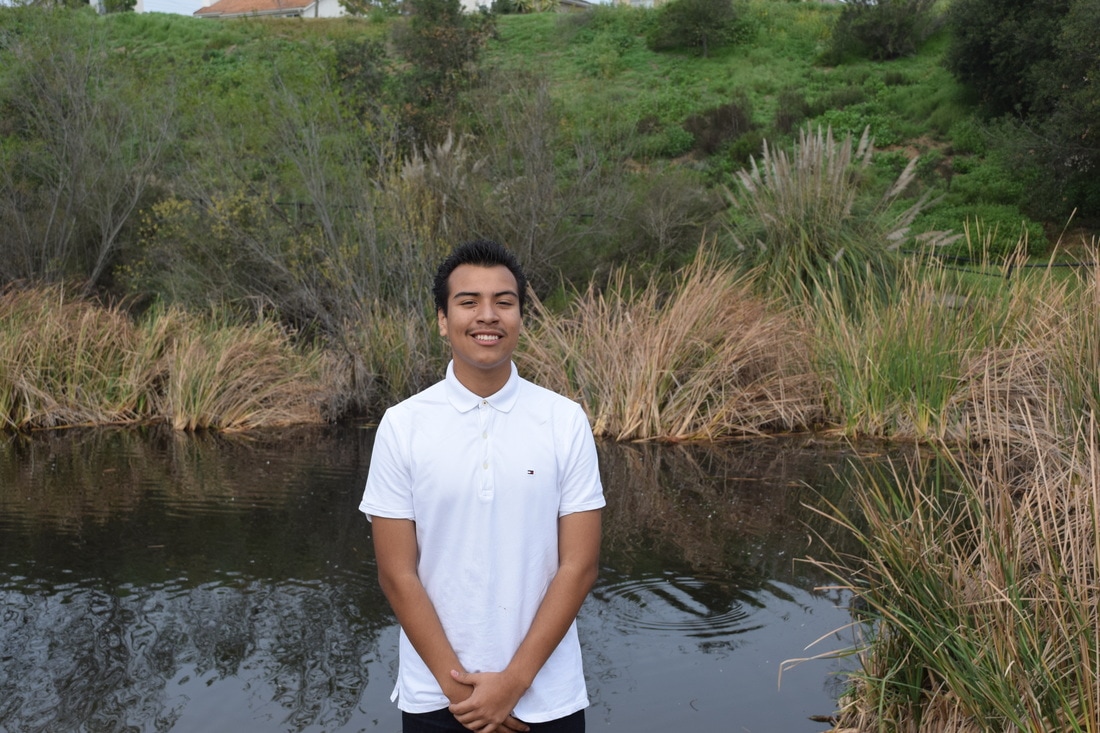 aperture f/8, shutter speed 1/500, ISO 400 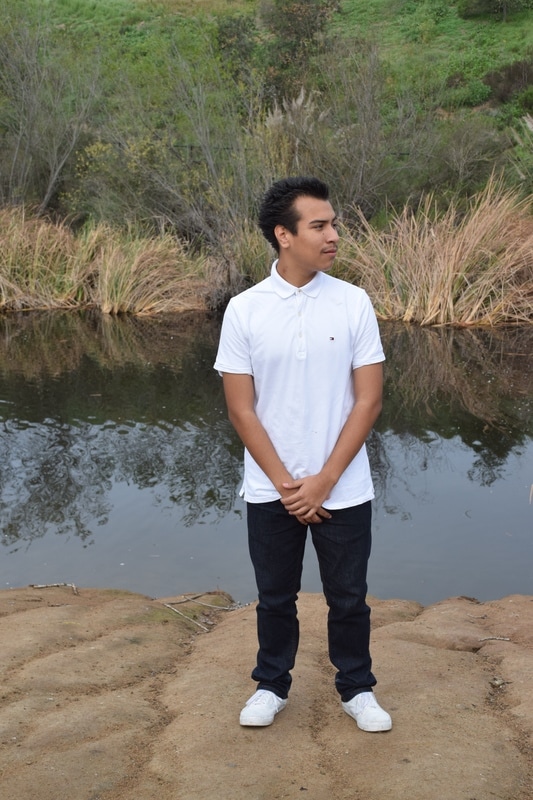 aperture f/8, shutter speed 1/500, ISO 400 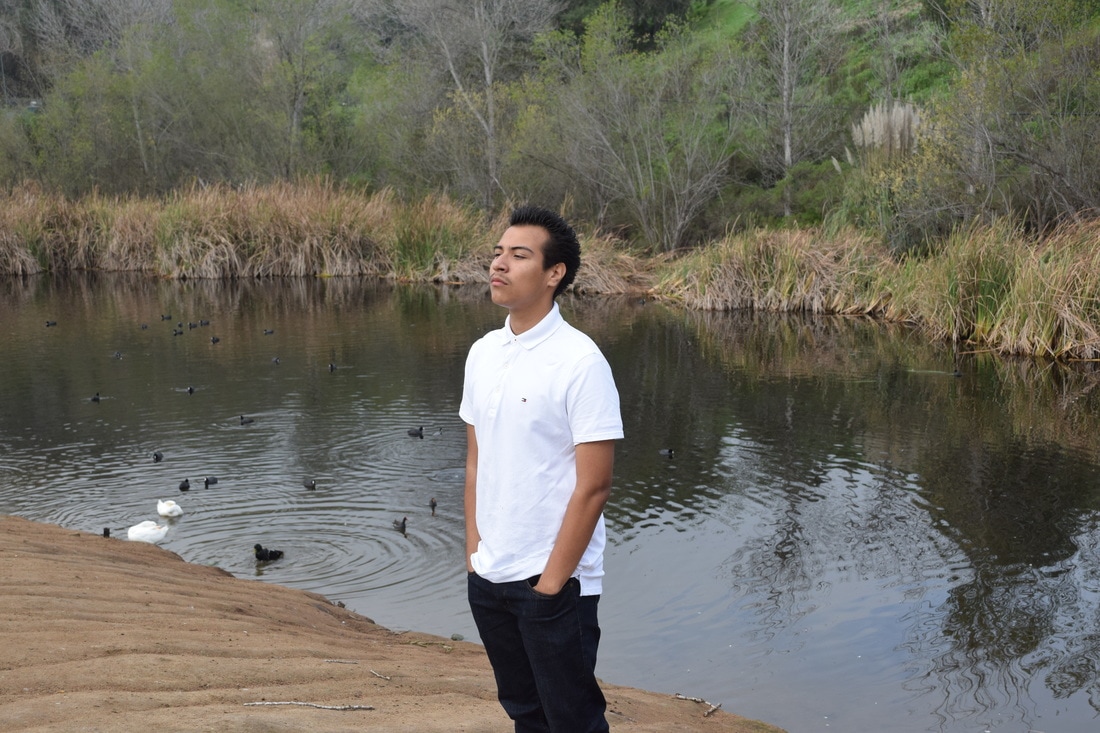 aperture f/8, shutter speed, ISO 400 By going to the duck pond I learned that we should focus on our model with a good background even if it's simple. I used poses that I've seen on social media or on TV etc. I didn't use a reflector for most of them but it did make a difference on the ones I did use it on. The reflector made my model look more bright and have a gold effect. To retouch my photograph I used photoshop to make my model's face smoother and softer and touch up on any face marks. Some positions for portrait photography could be commercials, magazines, posters, etc. An average pay for portrait photography would be $8 to $10 per hour. Studio managers make between $15 to $18 per hour. An average base salary is $35,649 an hourly rate of $17.They earn an average bonus of $517
0 Comments
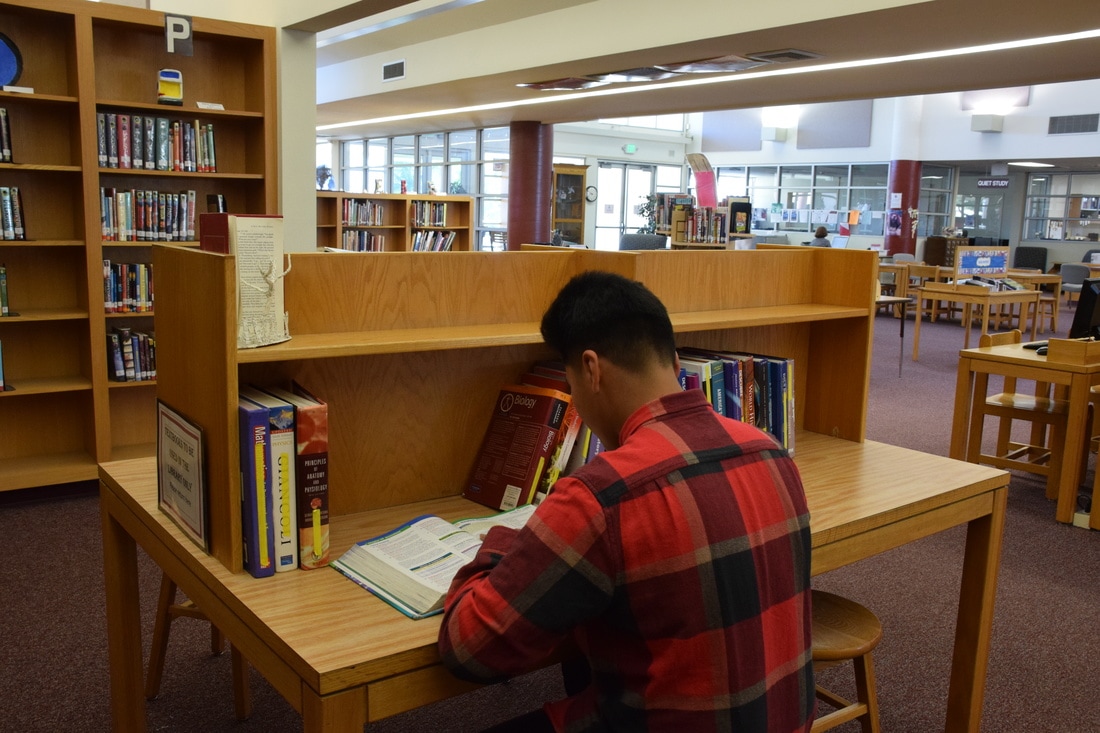 All of us who have the opportunity to have an education should take advantage of it wisely. Others who want to succeed but can’t would want to be in our positions. Our education is our opportunity to show the world what we are capable of doing and who we are capable of becoming. Slacking off shouldn’t be an option. A lot of doors can be opened for us but that’s only if we work for it. Let’s become who we always wished and desired to be.
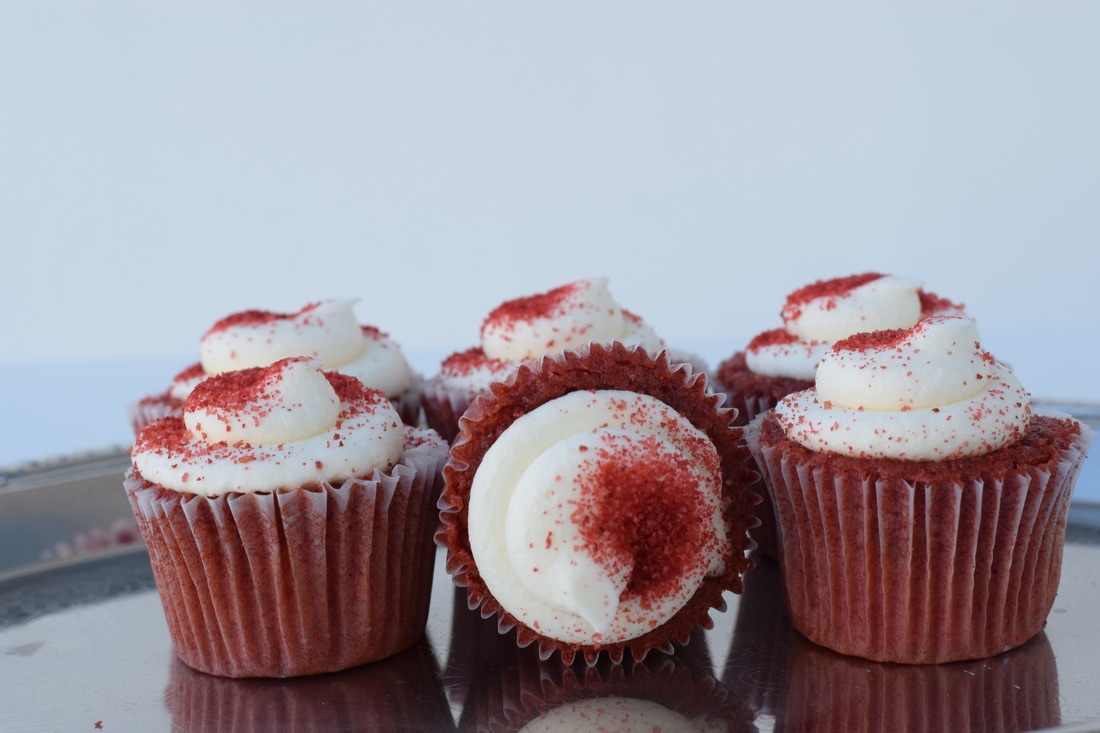 aperture f/8, shutter speed 1/125, ISO 400 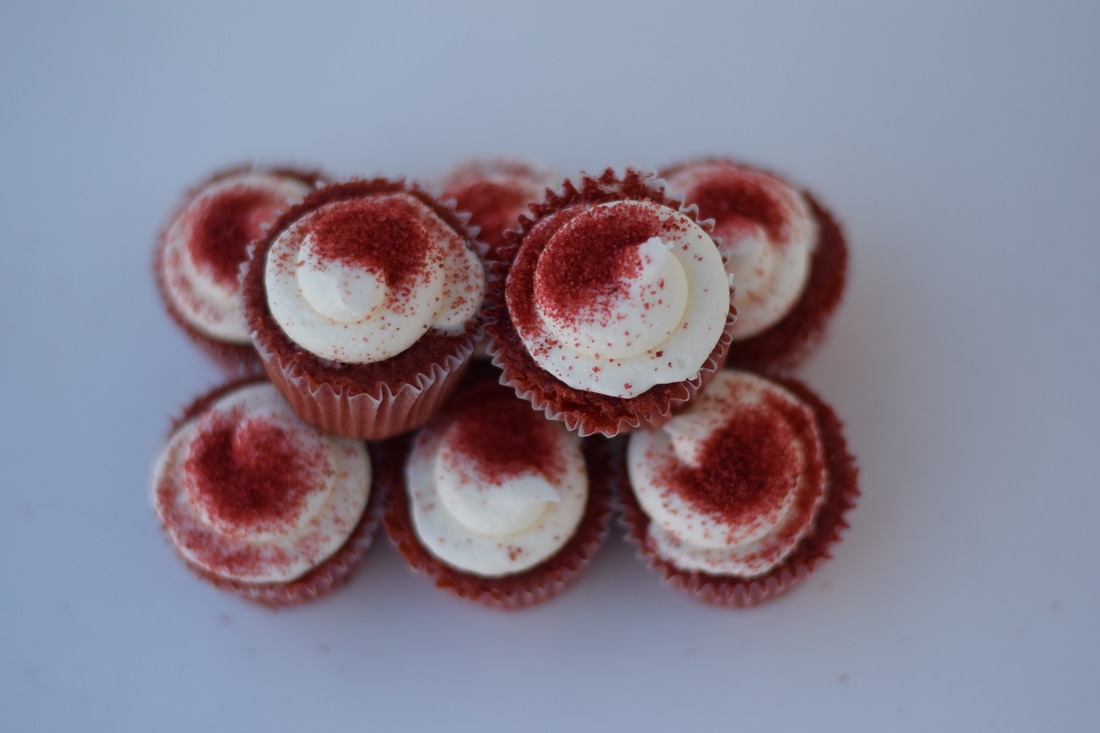 aperture f/1.8, shutter speed 1/4,000, ISO 400 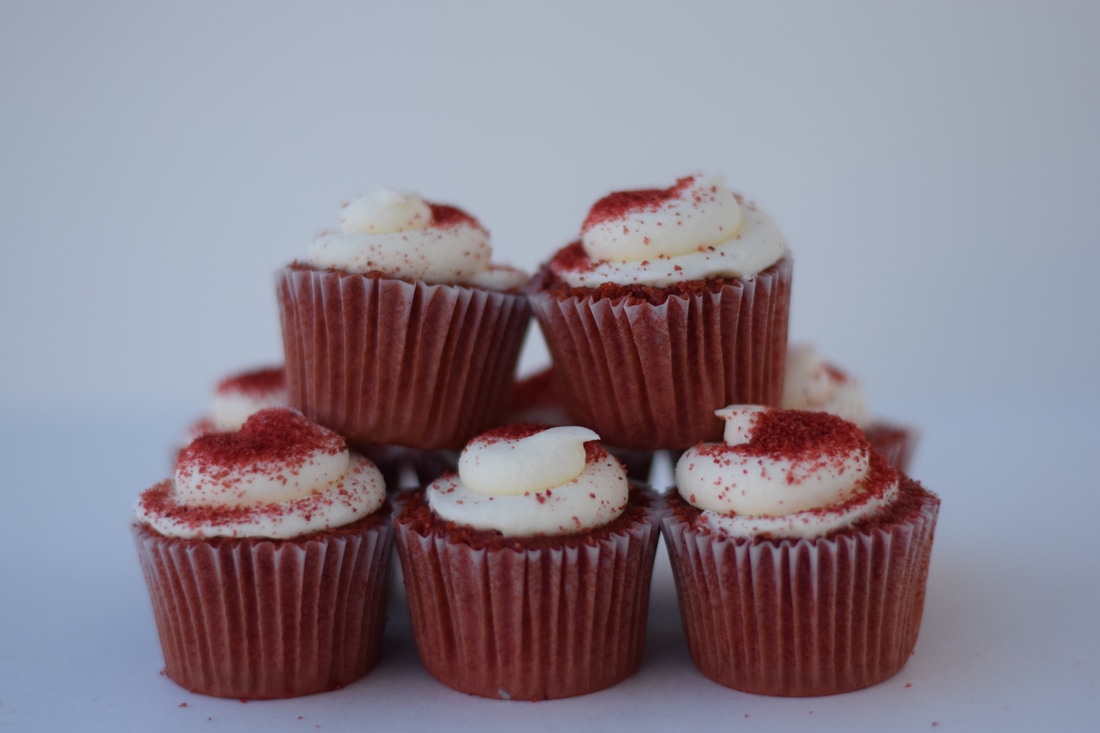 aperture f/1.8, shutter speed 1/4,000, ISO 400 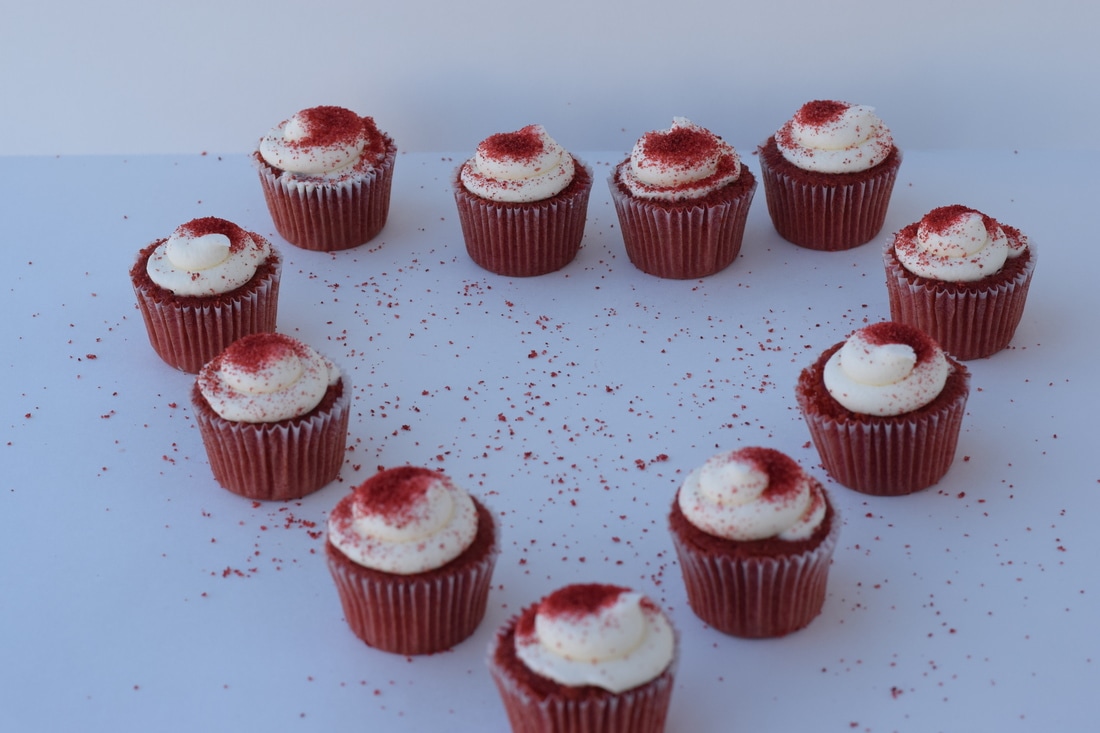 aperture f/8, shutter speed 1/250, ISO 400 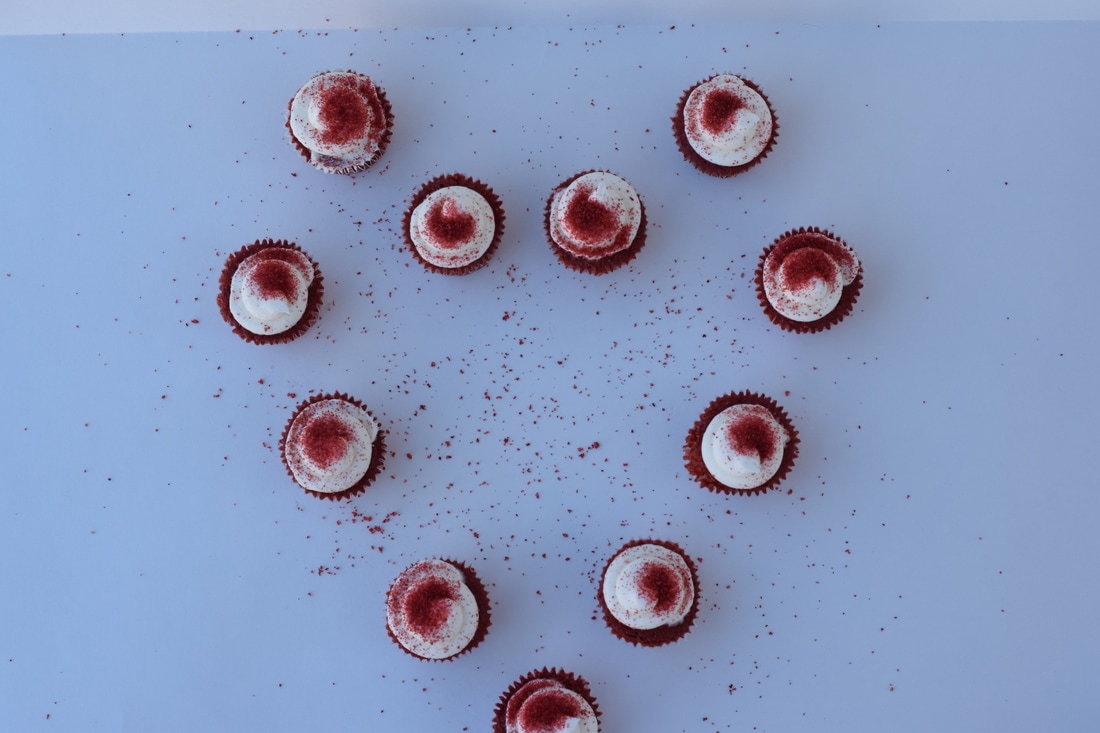 aperture f/8, shutter speed 1/250, ISO 400 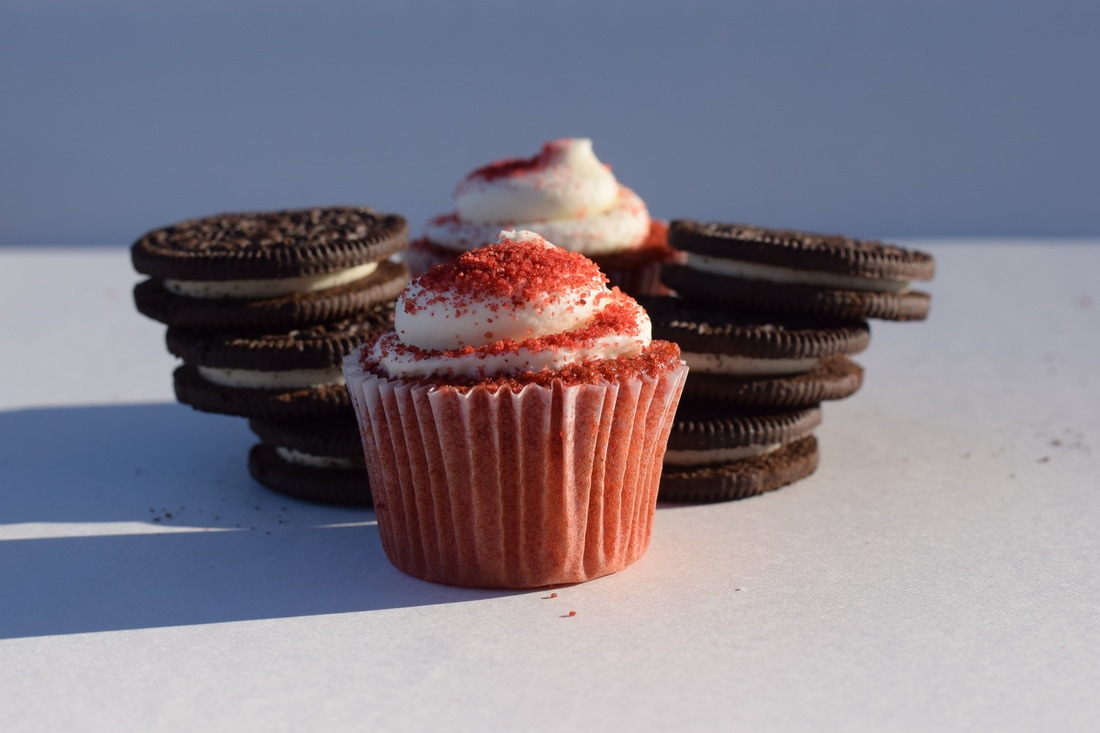 aperture f/8, shutter speed 1/500, ISO 400 I brought red velvet cupcakes and oreos. I used the leftover sprinkles of the cupcake to make it special. What I learned from the food photography presentation and video is that we should always get the little details and focus on the subject not the background and that each item is placed a specific way. I made my photographs look similar to professional food photography shots by taking pictures of the food in different angles. 3 things I learned from doing the food photography is we should style it or decorate it to make it look more realistic and fun. I think I was successful because I thought of Valentines day and created a heart of cupcakes. Also I did a lot of unusual photographs that you wouldn't normally see. This is something I would do again because you get to play around with food and be creative,
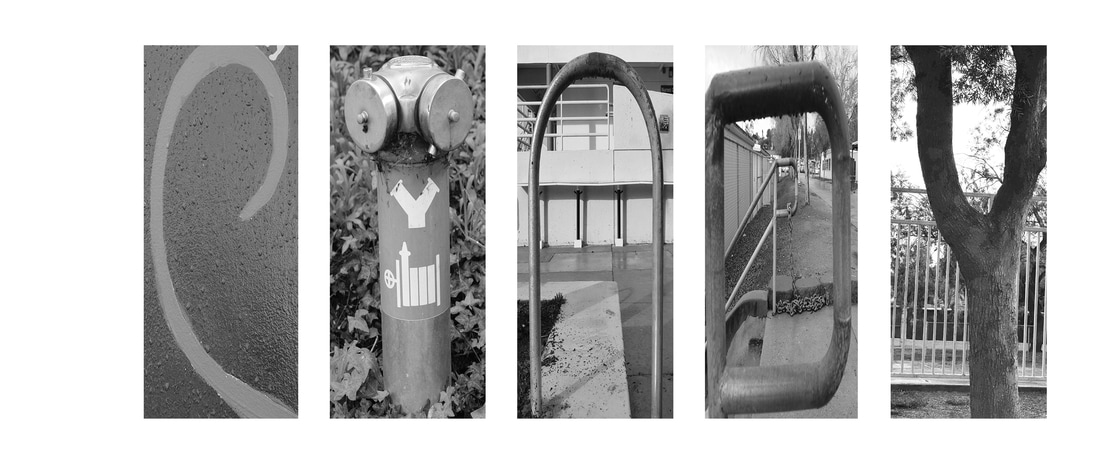 I edited the photographs in black and white after that I opened up a white background on photoshop and I lined up all the images and made them the same size.I adjusted the brightness and contrast so they can look almost the same. I struggled on making the pictures look the same black and white. The steps I was proud of figuring out was transforming the image to make the letter. What I like best about my artwork is how my name is clear. I think I could have improved on being more creative with the letters.
 My career is being a Psychiatrist. A psychiatrist is someone who helps diagnose, treat and help prevent disorders of the mind. Disorders of the mind are eating disorders, bipolar disorders, anxiety and depression. My ideal day would be listening to patients concerns and observe their behavior, and help them with their mental, emotional or behavior problems. 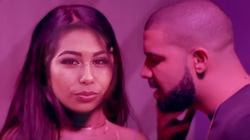 I choose to be Rihanna with Drake because I love them together and I love there music. Rihanna's music hypes me up and Drakes music always speaks to me. They both inspire me so much. StepsI got the two images I needed to make it as one. I changed the image size so it would be clear enough. I moved the headshot image to the side and I used the lasso tool to crop my head after that I used the move tool to drag my head and replace it from the other head. I changed the opacity to 60% so I can be able to see what adjustments I am making. I rotated my face to match the angle. I changed the opacity to 100% when i was finished with the adjustments. When I was finished I merged both images together and saved them on my desktop and etc.
Leading Line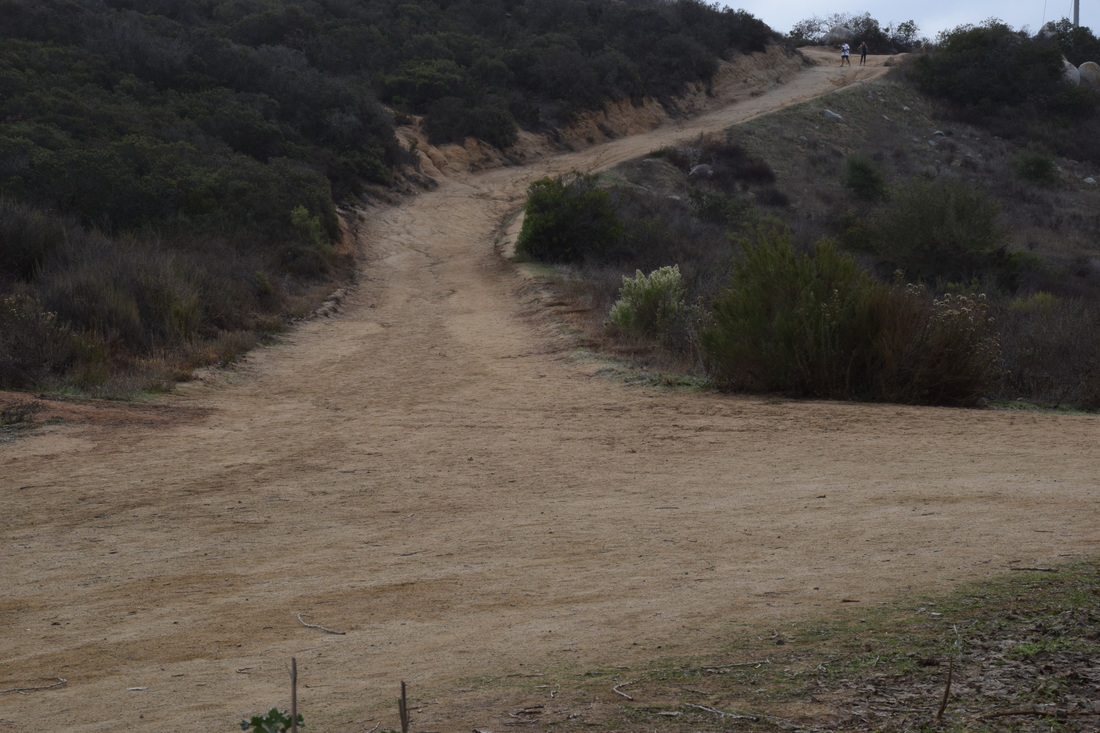 (before) exposure 0.0, aperture f/16, shutter speed 1/45, ISO 200 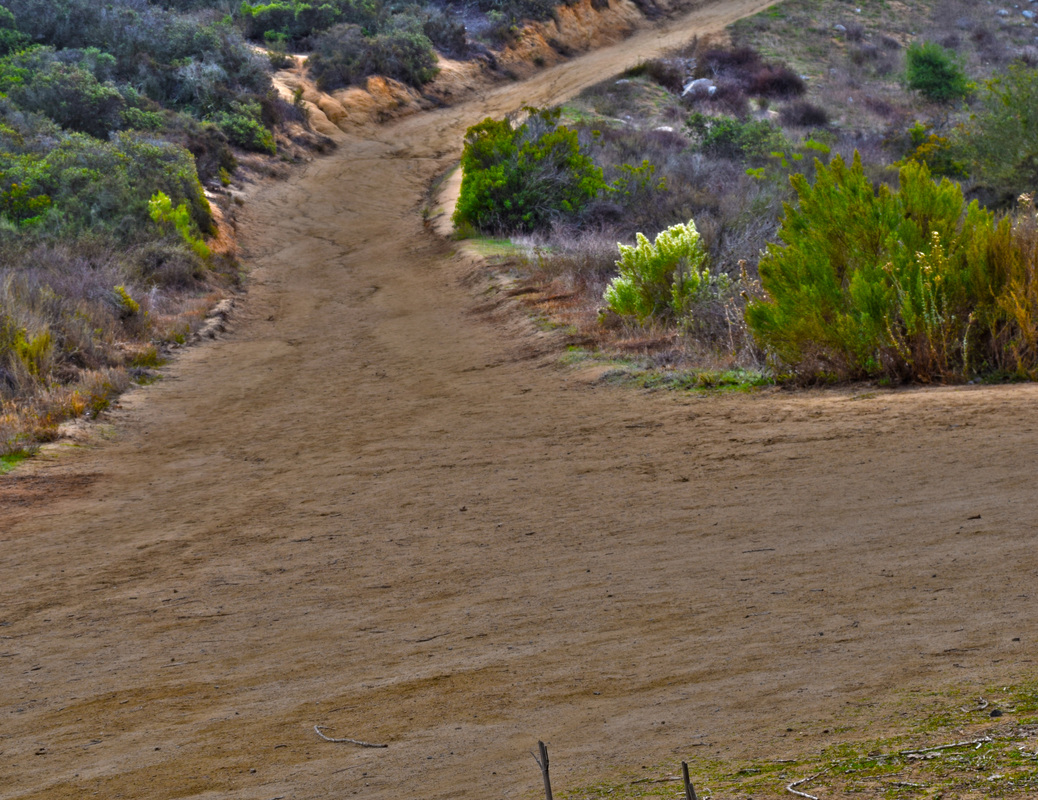 (after) aperture f/16, shutter speed 1/45, ISO 200 Rule of Thirds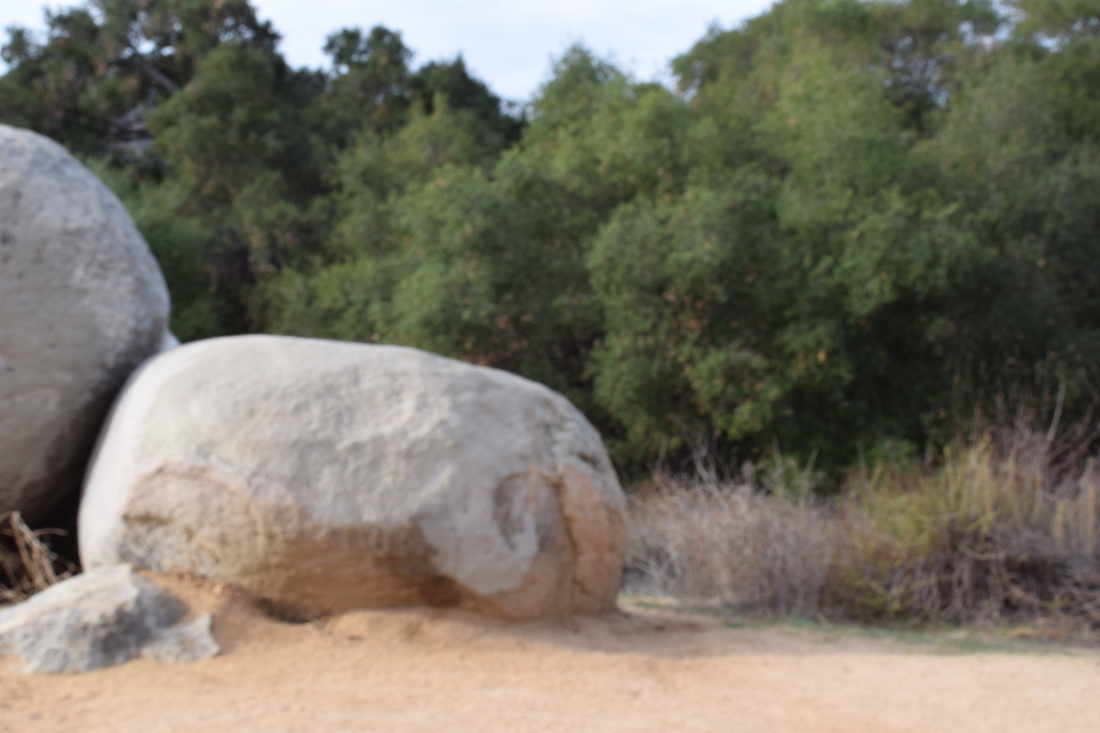 (before) exposure 0.0, aperture f/16, shutter speed 1/30, ISO 200 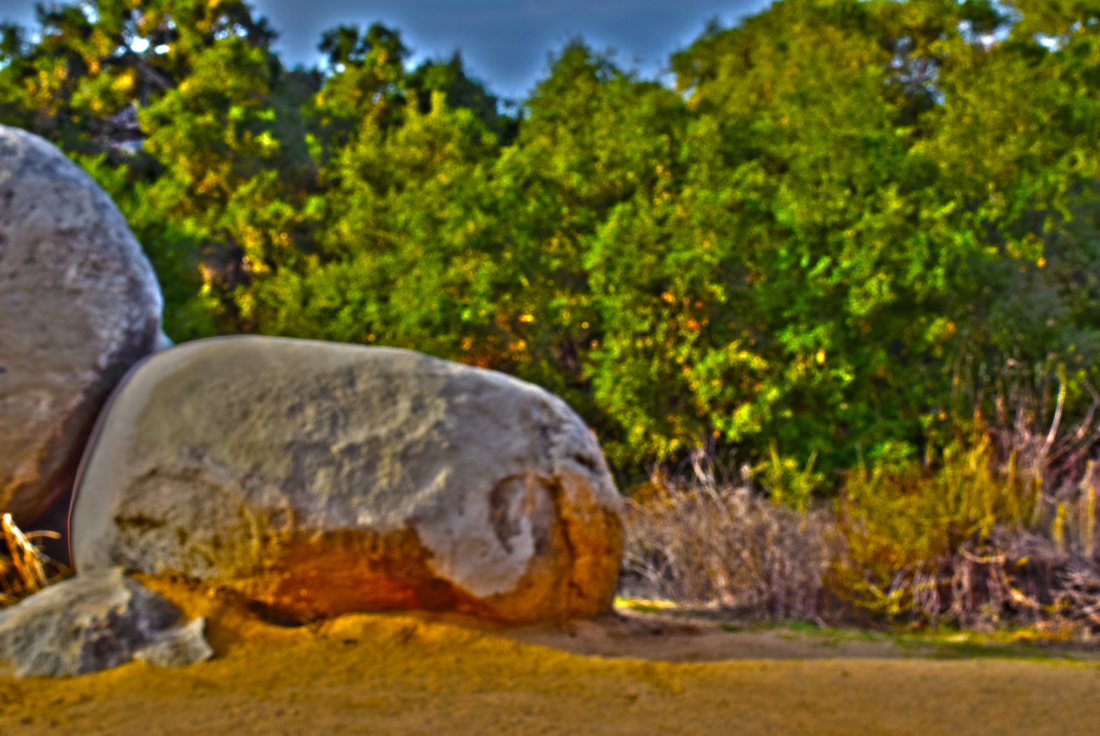 (after) aperture f/16, shutter speed 1/30, ISO 200 Crop (before) exposure 0.0, aperture f/16, shutter speed 1/10, ISO 100  (after) aperture f/16, shutter speed 1/10, ISO 100 Balance-Symmetrical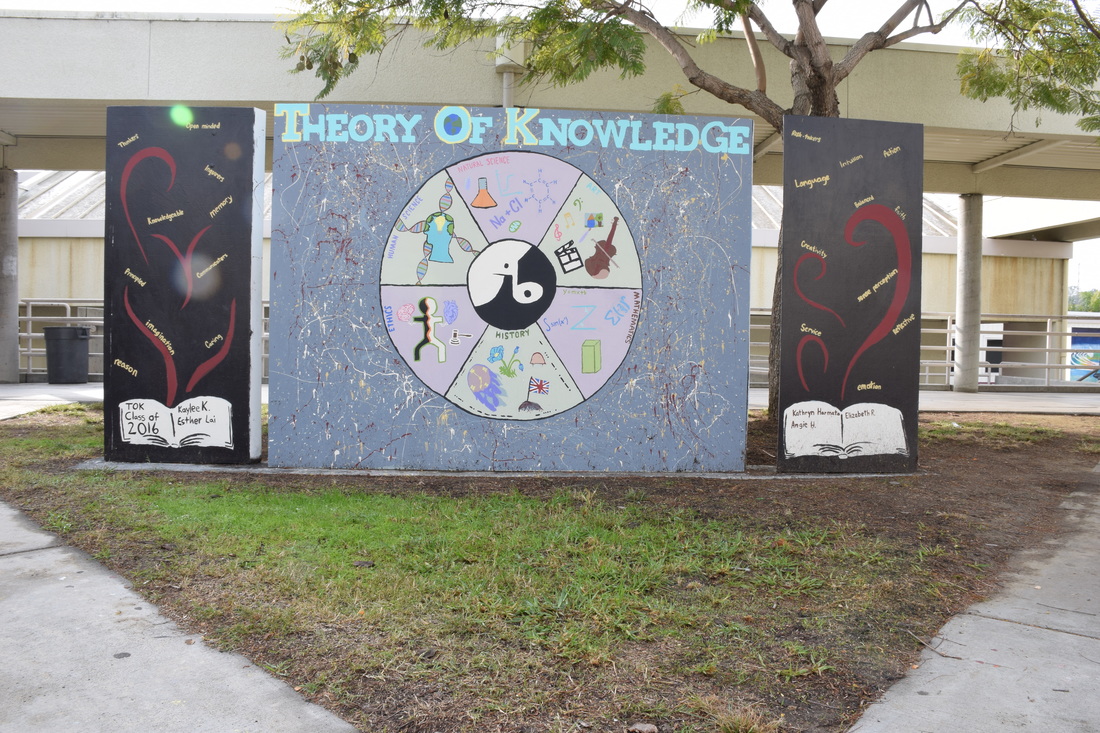 (before) exposure 0.0, aperture f/16, shutter speed 1/15, ISO 100  (after) aperture f/16, shutter speed 1/15, ISO 100 Framing (before) exposure 0.0, aperture f/16, shutter speed 1/6, ISO 200  (after) aperture f/16, shutter speed 1/6, ISO 200 These HDR (high dyanmic range) images that I created were taken at the duck pond. These photographs were taken with a tripod to take mutiple shots of the same pciture and angle. I took 5 same pictures with each different exposure. I got the 5 different pictures with different exposures and merged them on photoshop, after we did that we saturated and removed any ghost on the photograph to complete the process.
To photograph the moon:
1. Use a tripod! A flat surface will only allow you to shoot straight, and shooting the moon means that you'll be shooting up and constantly re-adjusting the tripod as the moon moves throughout the night. 2. Use a shutter release cord, remote or the camera's self timer if you don't have one, so that you don't move the camera when pressing the shutter release during a long exposure. 3. Use a zoom lens and zoom in as much as you can to the moon. It's okay if it's not a super fancy lens, this was shot using a 15 year old $100 lens. Focus in on the craters and details on the moon. 4. ISO 1250- 1600, so that you can use as fast a shutter speed as you can without losing detail-the longer the shutter speed, the more chances you have the camera will shake even slightly in the wind, resulting in an out of focus photograph. 5. Aperture priority of f/5.6 since you are not worried about capturing any details other then the moon. 6. Bracket your exposure, meaning over expose and underexpose the photograph from what the camera is telling you. Generally the camera will overexpose the moon, so you'll get nothing but a white blob in the sky. Use the exposure compensation button (the +/- button below the shutter release) and change the exposure to -0.5, then -1.0, then -1.5 and so on, until you start seeing detail in the moon. You may go as far as -5.0 exposure compensation to get what you need. 7. Take a fair amount of photos and keep refocusing as the night progresses. The photographs may look focused on the camera's display, but you won't really see if they're completely in focus until you upload them onto your computer screen. |
AuthorJunior at RBV. Archives
May 2017
Categories |
 RSS Feed
